Code 3 Police Callouts How to Arrest Suspects
Talk, MDT, warrants, cuffs, transport, and booking without soft-locks.
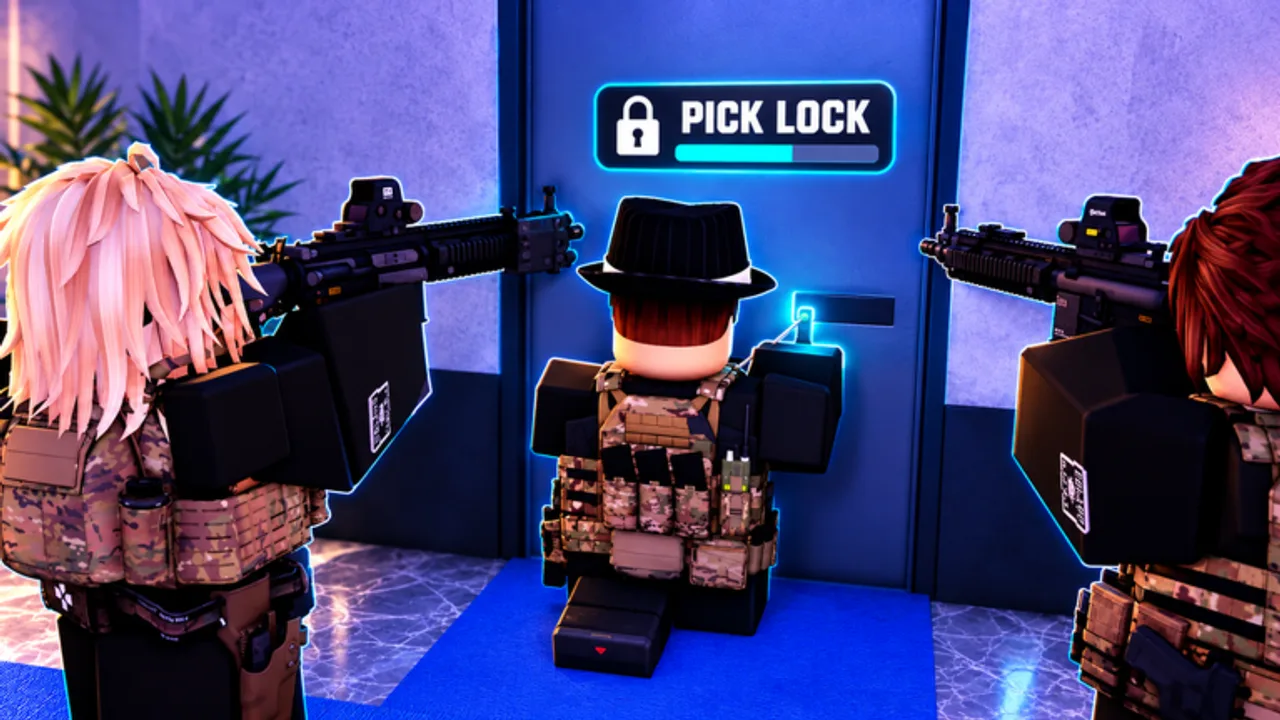
Arrests in Code 3: Police Callouts are a full pipeline, not a single cuff button. Black Sector Games wants you to talk to suspects, run ID, check warrants on the MDT, then make the arrest when custody is justified. Skip a step and you get wrong detentions, stuck callouts, or missing XP. This guide walks the pipeline from contact to booking so your clears stay clean on 15-player servers.
Prerequisite skills live in Getting Started and First Shift. Roadway-specific contact tips are in Traffic Stops; scene priority context is in Callouts.
The arrest pipeline at a glance
- Control the space — cover, perimeter, hands visible.
- Talk — use dialogue; gather behavior and story.
- Identify — open the MDT, run ID.
- Evaluate warrants / offenses — decide warn, cite, or arrest.
- Cuff — only after the decision is custody.
- Escort / transport — keep control to the booking point.
- Book — finish computer/processing prompts.
- Clear the callout — confirm objectives ended and rewards applied.
Memorize that order. Most failures are order failures.
Step 1 — Control before custody
You cannot interview cleanly in a crossfire.
- On robberies and bomb-adjacent scenes, set Contact / Cover / Perimeter roles.
- Holster the ego gunfight if talk options are still alive.
- Separate multiple suspects so MDT checks do not blur together.
- On traffic stops, park with a safety corridor before you ever reach for cuffs.
If the suspect flees, communicate. A solo sprint across the map while your squad thinks you are still Contact collapses the scene.
Step 2 — Talk to every suspect
The game explicitly markets conversation as part of policing. Treat talk interactions as mandatory:
- Start dialogue even when you “already know” they are guilty.
- Listen for contradictions you can verify on MDT.
- Keep commands short if they are agitated.
- Do not overlap four officers talking at once — one Contact.
Talking also prevents the bad habit of cuff-first roleplay that breaks designed callout branches.
Step 3 — MDT: ID and warrants
Open the MDT while the suspect is controlled:
- Run ID for the person in front of you.
- Read warrant hits and flags carefully.
- Match the person to the callout context (robbery shooter vs bystander).
- Share the return with your squad in chat.
No warrant and no arrestable offense? You may be in warn/cite/release territory — especially on parties and minor traffic. Warrant or clear serious offense? Move to cuffs.
Exact UI labels can shift with patches; the job remains: identify before you detain for the long haul. Recheck Updates if menus move.
Step 4 — Make the custody decision
| MDT / scene result | Action |
|---|---|
| Clean ID, minor issue | Warn or cite; release |
| Warrant hit | Arrest |
| Violent felony in progress | Arrest (safety first, then process) |
| Wrong person / bystander | Release; refocus |
| Incomplete ID | Finish ID before irreversible steps |
Arrests that ignore this table create booking nonsense and wasted transport time.
Step 5 — Cuffing
When custody is justified:
- Announce the arrest if your unit roleplays it.
- Use the cuff tool/control on the correct suspect.
- Confirm the cuff state stuck — retry if the animation/state failed.
- Secure weapons on scene so a second suspect does not instantly re-arm the problem.
If they resist, use proportionate control tools from your current armory unlocks. Progression advice for those tools sits in Rank Progression and Weapons.
Step 6 — Escort and transport
- Keep the suspect in your control while moving.
- Use vehicle seating / escort prompts the game provides — do not invent a path that drops cuff state.
- Drive reasonably; crashing out a custody transport on a wet night is an avoidable reset.
- Second officer should cover, not race, unless a runner is still free.
Marked cars make public transports obvious; unmarked may fit sting aftercare, but any reliable patrol craft works — see Vehicles.
Step 7 — Booking
Booking is where XP goes to die when skipped.
- Arrive at the correct processing / booking location for your call.
- Follow on-screen prompts at the booking computer or station marker.
- Keep the suspect secured through the process.
- If the callout involved multiple arrestees, process each as required before you declare clear.
- Watch for completion feedback before you leave for another call.
Half-booked scenes are a top reason officers swear “the game ate my rewards.”
Step 8 — Clear and go available
After booking:
- Finish any remaining callout objectives (evidence, civilians, secondary suspects).
- End the call properly so dispatch can recycle you.
- Reload kit if needed; Mobile Garage helps here if owned (Game Passes).
- Glance at cash/XP to confirm the clear counted.
Then either take the next dispatch or run a calm traffic stop to cool down.
Arrests inside different callout families
Street parties
Arrest the actual fighters or wanted names, not the whole crowd. MDT discipline matters most when twenty NPCs exist.
Traffic stops
Warrant hits during a stop are textbook custody. Cite the rest. Full stop craft: Traffic Stops.
Armed robberies
Priority is scene control, then ID, then cuffs. Do not tunnel the first NPC while an armed second angle is live. Squad Cover earns their keep here (Callouts).
Bomb threats
Arrests may be secondary to the device objective. Do not drag a cuffing sidequest into the hot zone if the timer/objective needs hands free.
Undercover stings
Spring the trap, control suddenly, then transition into the normal MDT → cuff → book pipeline. Unmarked presence helps the setup; booking still happens in the open system afterward.
Squad communication cheatsheet
- “Contact on suspect A — running ID.”
- “Warrant confirmed — cuffing.”
- “Transporting to book — cover the door.”
- “Booked — checking secondary.”
- “Call clear — available.”
Short calls beat novels while someone still has a gun.
Common arrest mistakes
- Cuffing before talk/MDT.
- Arresting bystanders because they stood near a robbery prop.
- Leaving the scene with cuffs on but never booking.
- Two officers cuffing different people with no ID notes.
- Ignoring a second warrant because the first transport felt “done.”
- Spending the whole budget on explosive novelty rounds before you own basic control tools.
Progression angle
Clean arrests feed the rank snowball. More successful bookings → more XP/cash → more armory unlocks → easier control on the next violent call. Free starters from Codes (GUNZCUSTOMS, GARAGE) help early kits. Unit identity comparisons live on Units; index everything from Guides Hub.
When talk → MDT → cuff → book is muscle memory, you stop fearing custody callouts and start choosing them on purpose.
Frequently Asked Questions
Quick answers for patrol, codes, units, and progression.
What is the correct arrest order in Code 3: Police Callouts?
Control the scene, talk, run ID on the MDT, check warrants, cuff only if custody is justified, transport, book, then clear remaining objectives.
Do I have to use the MDT before cuffing?
Yes whenever possible. ID and warrant checks separate cite/release cases from true arrests and prevent booking problems.
Why did I not get rewards after an arrest?
Usually the callout was not fully cleared or booking was skipped. Finish processing and any secondary objectives before leaving.
Can multiple officers arrest on the same call?
Yes. Assign Contact for MDT/cuffs, Cover for safety, and make sure every arrestee who must be booked actually gets processed.
What if there is no warrant?
You may still arrest for serious on-scene offenses, but minor cooperative issues are often warn/cite/release. Let MDT plus scene facts drive the call.